


For the next couple of posts, we're going to follow my mom's cardinal sewing rule: Read the Directions BEFORE you start your work. And, more important, I'll explain some basic terminology to help you understand what you're reading!
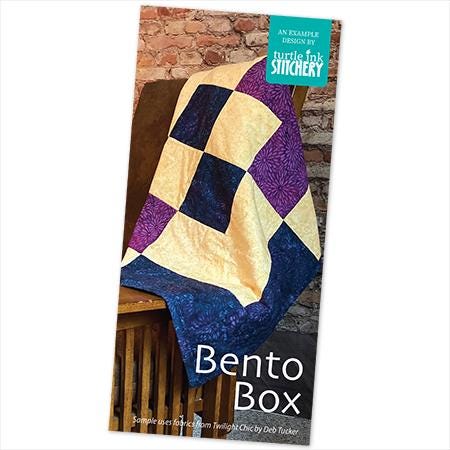
Most quilters, especially when starting out, use a pattern – more advanced quilters may choose a freeform approach or even design their own quilts. In researching for this blog, the Yellow Brick Road Pattern from Atkinson Designs is one of the most recommended for beginners.
If you are looking for a less expensive option, there are hundreds of free quilt patterns available online – one of the best collections I've found is at FaveQuilts.com. The site consolidates free quilt patterns from across the internet, offers patterns for all skill levels, and lets you sign up for daily emails. The Freaky Fast Four Patch is a nice easy beginner quilt to get started with.
To introduce you to the various sections of quilt patterns, I've created an example set of directions that we'll walk through.
Name and Glamour Shot
You may not care or even stop to register the name of the pattern (unless it was named something like Hardest Pattern Ever, in which case, I'd probably pick something else). However, the glamour shot probably grabbed your attention. Maybe it's the colors, fabrics, or overall design, but something about it drew your eye. As mentioned in the last post, mimicking the glamour shot can be a great way to get going. If you're lucky, the designer will even tell you which fabrics were used.
Pattern Specifications
Every pattern will include some basic info that will help you pick which one to work on. This may include some, or all, of the following:
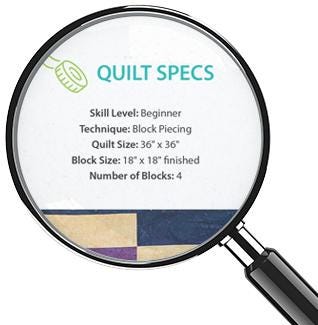
- Skill Level: Save yourself time, money, and frustration – buy patterns within your skill level. Start small and easy – I recommend a baby quilt with Beginner skill level. Once you've mastered the basics, feel free to branch out to bigger quilts and higher skill levels. We want quilting to be fun – ripping out stitches is aggravating, large quilts can be burdensome until you get a feel for the machine, and leaving a quilt unfinished because it's too difficult is a waste of time and money.
- Technique: There's more than one? Yup, there are four, but this blog focuses purely on Block and Patchwork, the process of piecing together squares, triangles, and rectangles, to form a quilt block. Those blocks are then joined together to make the quilt. Other techniques include Applique, Foundation Paper Piecing, and Trupunto quilting. I have seen examples of all three at sewing conventions (an amazing experience if you ever have the opportunity to attend), but have never attempted them.
- Finished Quilt Size: Most purchased patterns will provide cutting and piecing instructions for multiple quilt sizes, typically baby, lap, twin, queen, and/or king. Many of the free patterns I've found offer a single size. Because we are using the Block method of quilting, you can easily make more or fewer blocks to increase or decrease the size of the quilt you are making.
- Block Size: In this example, our finished block size is 18", this is unusually large – most finished blocks will measure between 6"-12". A finished block is one which has been sewn into the quilt. An unfinished block will be larger by 1/4" on each side. So, in our example above, our unfinished block will be 18-1/2" square. This sizing is helpful when trimming unfinished blocks to the right size (especially if I'm working with triangles, which always seem to get misshapen in the sewing process).
- Number of Blocks: This really just lets me know how much work I've got ahead of me, and can help me choose a pattern. If the piecing for a single block looks complicated and time consuming, and I know that I have 48 of them in my future, I'll probably pick a different pattern.
Materials List
A quilt is made up of 3 layers: the pieced top, the batting, and the backing. There will be material requirements for each. Depending upon your finishing method, you'll also need binding fabric.
Fabric
Previously, we talked about picking out fabrics. Today, we'll focus on buying it. As a reminder, you'll want to choose 100% cotton quilting fabric.
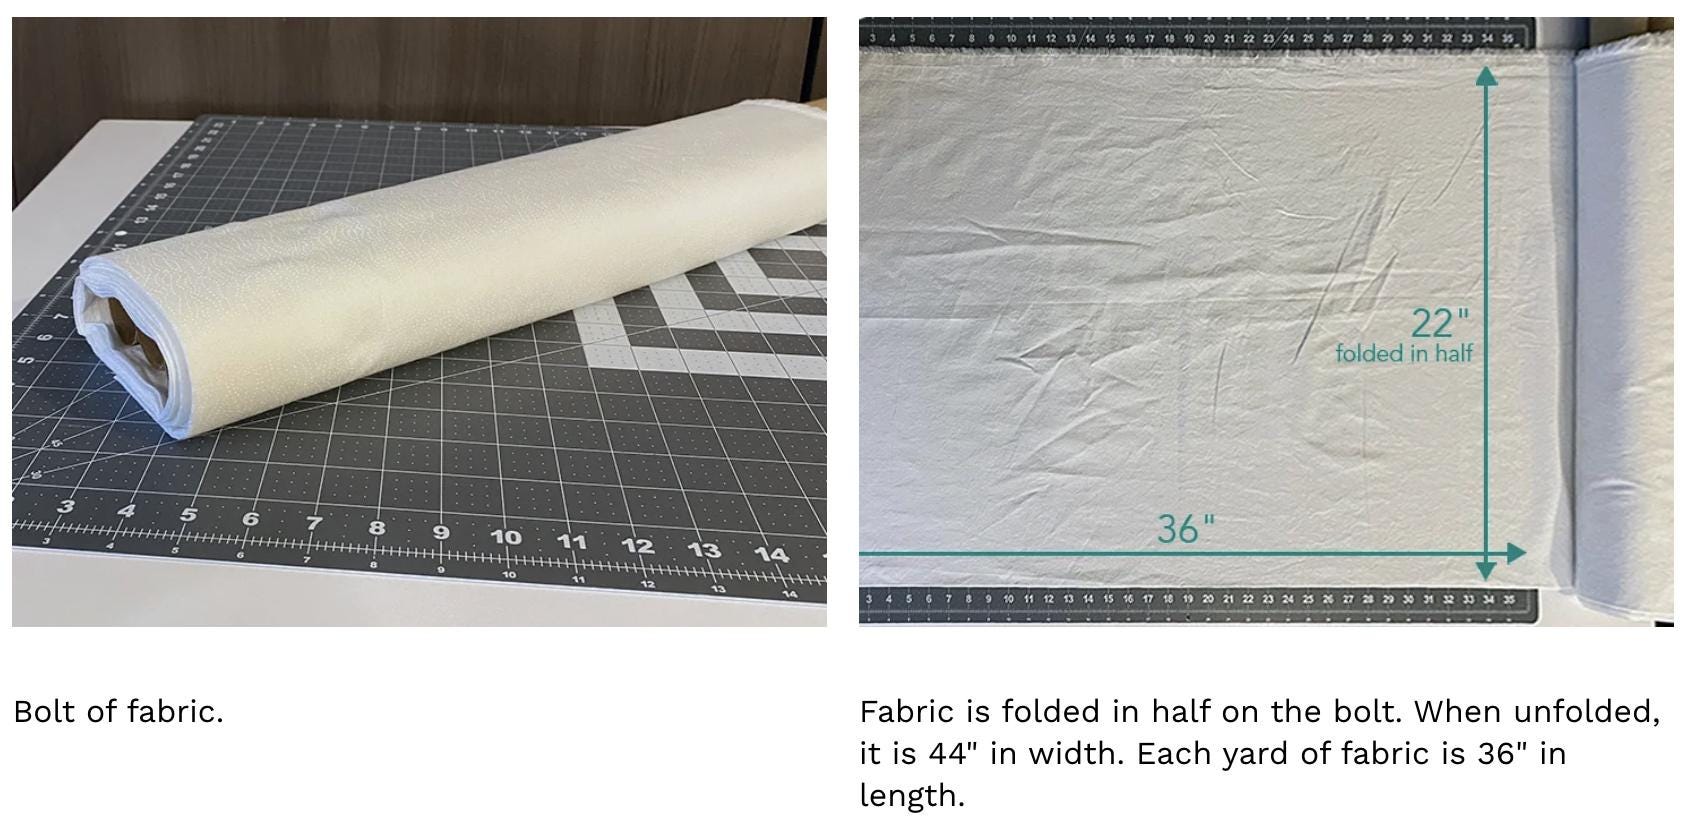
Fabric is typically sold on bolts (except for pre-cuts. Bolt fabric comes in varying widths, from 36" to 108", although cotton bolts are traditionally 44" wide. The "yard" measurement refers to the length of the cut as the fabric is rolled off the bolt. So, one yard of cotton fabric measures 36" x 44", and patterns use this size to compute yardage - they even take into account any shrinkage that may occur in the wash.
Buy the amount listed in the instructions – don't try to skimp. In fact, you may even want to order a little extra yardage to account for errors. I like to order an extra 1/4 yard of each fabric for projects, which also leaves me some scrap for my stash once the project is done.
Batting
This is a layer of insulation that is sewn between the top of the quilt and the backing, giving the quilt its weight and warmth. Batting can be made from cotton, polyester, or wool. I prefer to use an all-natural cotton batting, as it is fairly thin, incredibly warm, and requires less top-stitching. However, I recommend experimenting with the various types to see what works for you.
Backing
You will typically choose a coordinating fabric color for the back of your quilt. You'll need to sew together a few yards of fabric to make a piece large enough for the back. When piecing, you'll want to measure the quilt top and add 4" to all sides to allow extra fabric for the finishing process. I use microfiber sheets for my backing, negating the need to piece together yards of fabric.
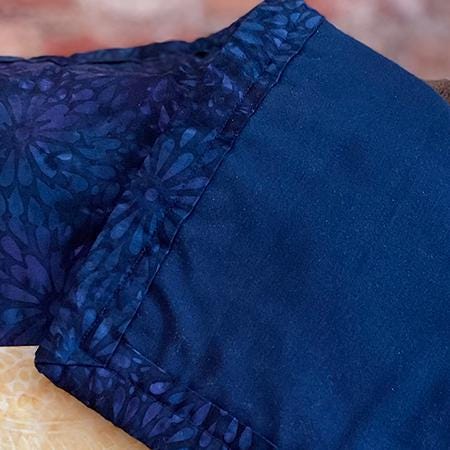
Binding
Binding (verb) is the process of finishing a quilt with bias binding (noun), fabric strips that have been cut and ironed to size to finish a quilt. There are several methods of binding, which we'll discuss more in a future post.
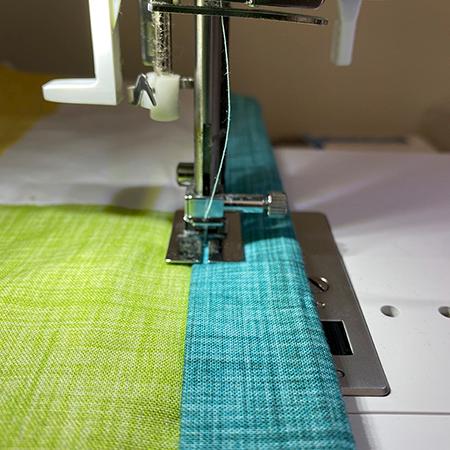
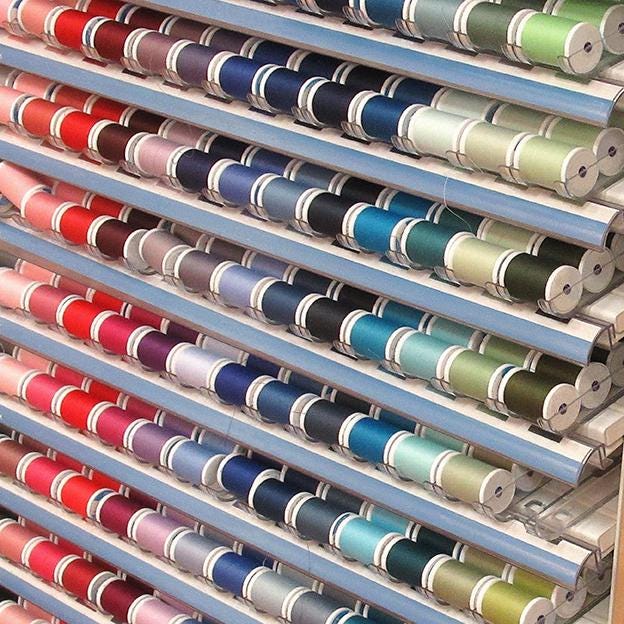
Thread
Break out your machine's owner manual and see which thread weight is recommended. For quilting, a 30-weight thread will likely be recommended, but you should always double check. The most common brand of 30-weight thread you'll find at quilting/craft stores is Coats and Clark, which works well for machine-based stitching. I tried using a cheaper option once, and ... it did not go well. The thread was thinner and prone to breaking. Coats and Clark is widely available, provides 100+ color options, is affordable, and holds up very well.
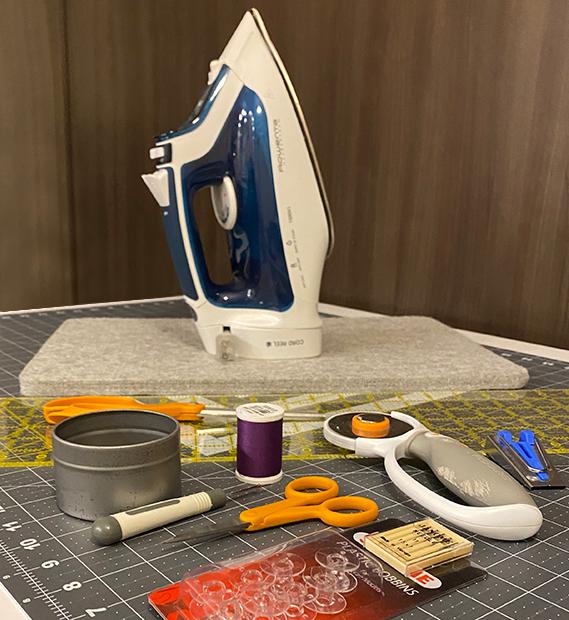
Tools & Supplies
The most commonly used items in my sewing room are: a cutting mat, ruler, rotary cutter, sewing pins, iron and ironing board, scissors (both a large and small pair, used exclusively for quilting), seam ripper, bias tape maker, as well as spare sewing machine needles and bobbins.
Cutting and Assembly
These steps take up the majority of the directions, and we'll cover them in Parts 2 and 3.