

You've got all your fabric picked out and sitting in front of you. I bet you're dreaming of sitting down in front of your machine and sewing your masterpiece.
I've got news for you: By my (not scientifically measured) estimate, sewing is only about 30% of the quilting process. Before the stitching begins, there's washing, drying, ironing, cutting, sorting, and pinning. 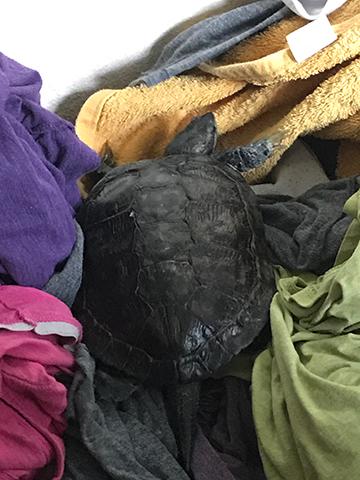
If you're thinking: "Washing and drying! What? No one told me about laundry!" I can relate. True confessions: I hate housework. Loathe it. Ironing? I don't think I've ironed a single article of clothing in 20 years. And washing? I can't be bothered to separate colors. Towels and clothes all get washed together in a large load with hot water and dried on high heat. Hand washing? A big nope from me.
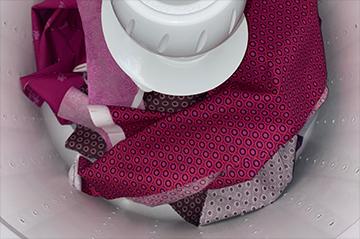
But my fabric gets the royal spa treatment at the start of every project. If I'm pre-washing (more on this in my next post), I separate by color and texture. I will wash small and medium loads. I wash cold. I dry according to the recommended setting for fabric type. I remove from the dryer and start ironing immediately (it is so much easier to iron out wrinkles when the fabric is still warm). I iron and steam each and every inch of every cut for my project.
I've ironed a few hundred yards of fabric in my life, and I've got a few tips:
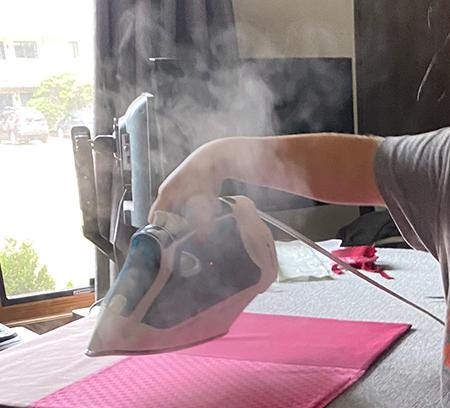
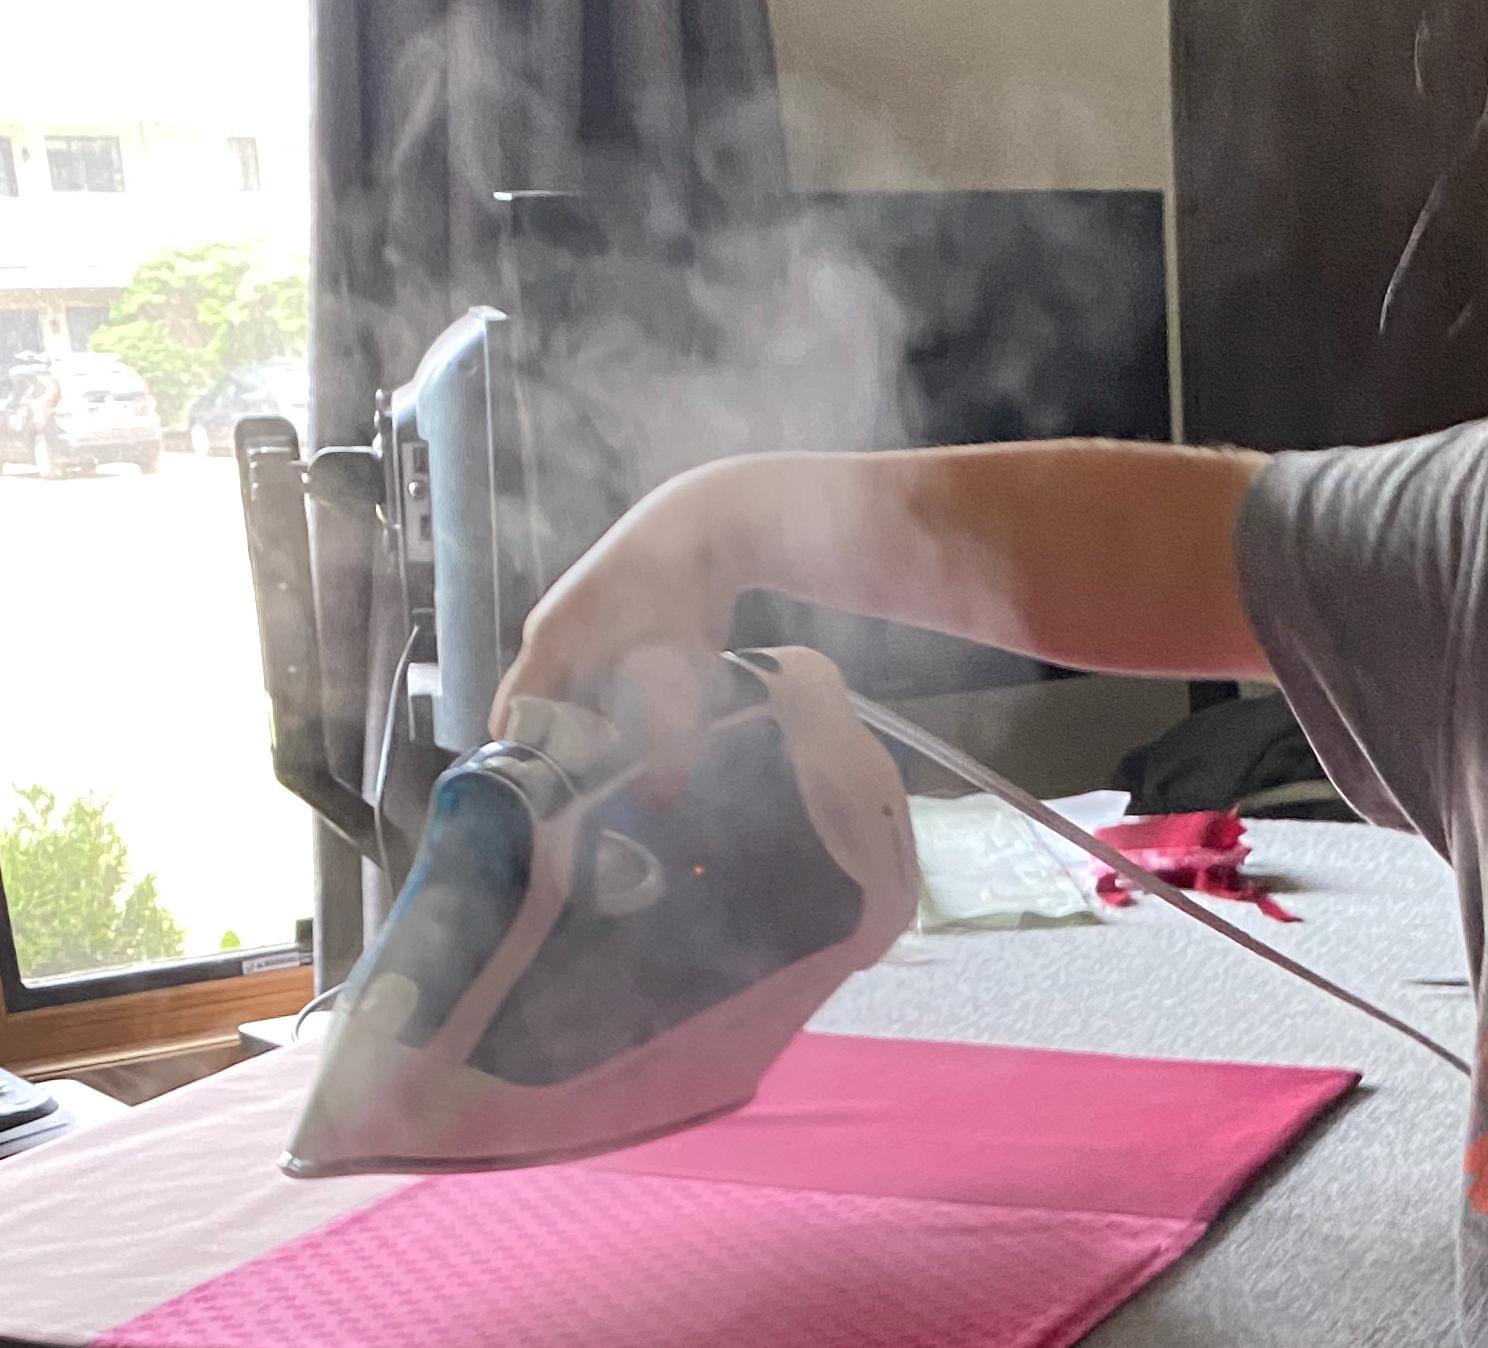
1. Steam is your best friend.
You'll want an iron that produces lots of steam, all on its own, without having to keep your thumb constantly on the steam button. I love my Rowenta, but there are other options in the under $100 price range. Here, my apprentice (and adorable niece) demonstrates my iron's steaming ability.
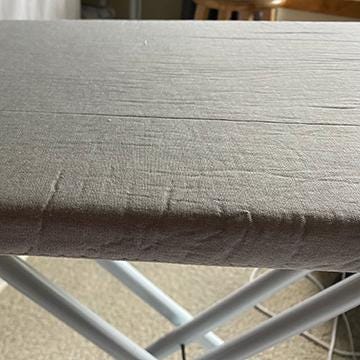
2. Upgrade your ironing board pad.
A nice thick ironing pad helped reduce strain on my wrist. I had a super thin cover and found I had to press really hard on each swipe. I switched to an extra thick pad, and it made a world of difference.
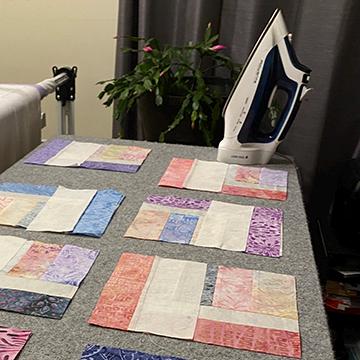
3. Invest in a wool pressing mat.
A wool pressing mat is worth the investment. As you press your fabric, the wool heats up and effectively presses the fabric from both sides. And, because of it's slightly coarse texture, it prevents your fabric from sliding around. The mats come in all sizes, I bought the 12" x 18" to start. As you can see, I've upgraded since then.
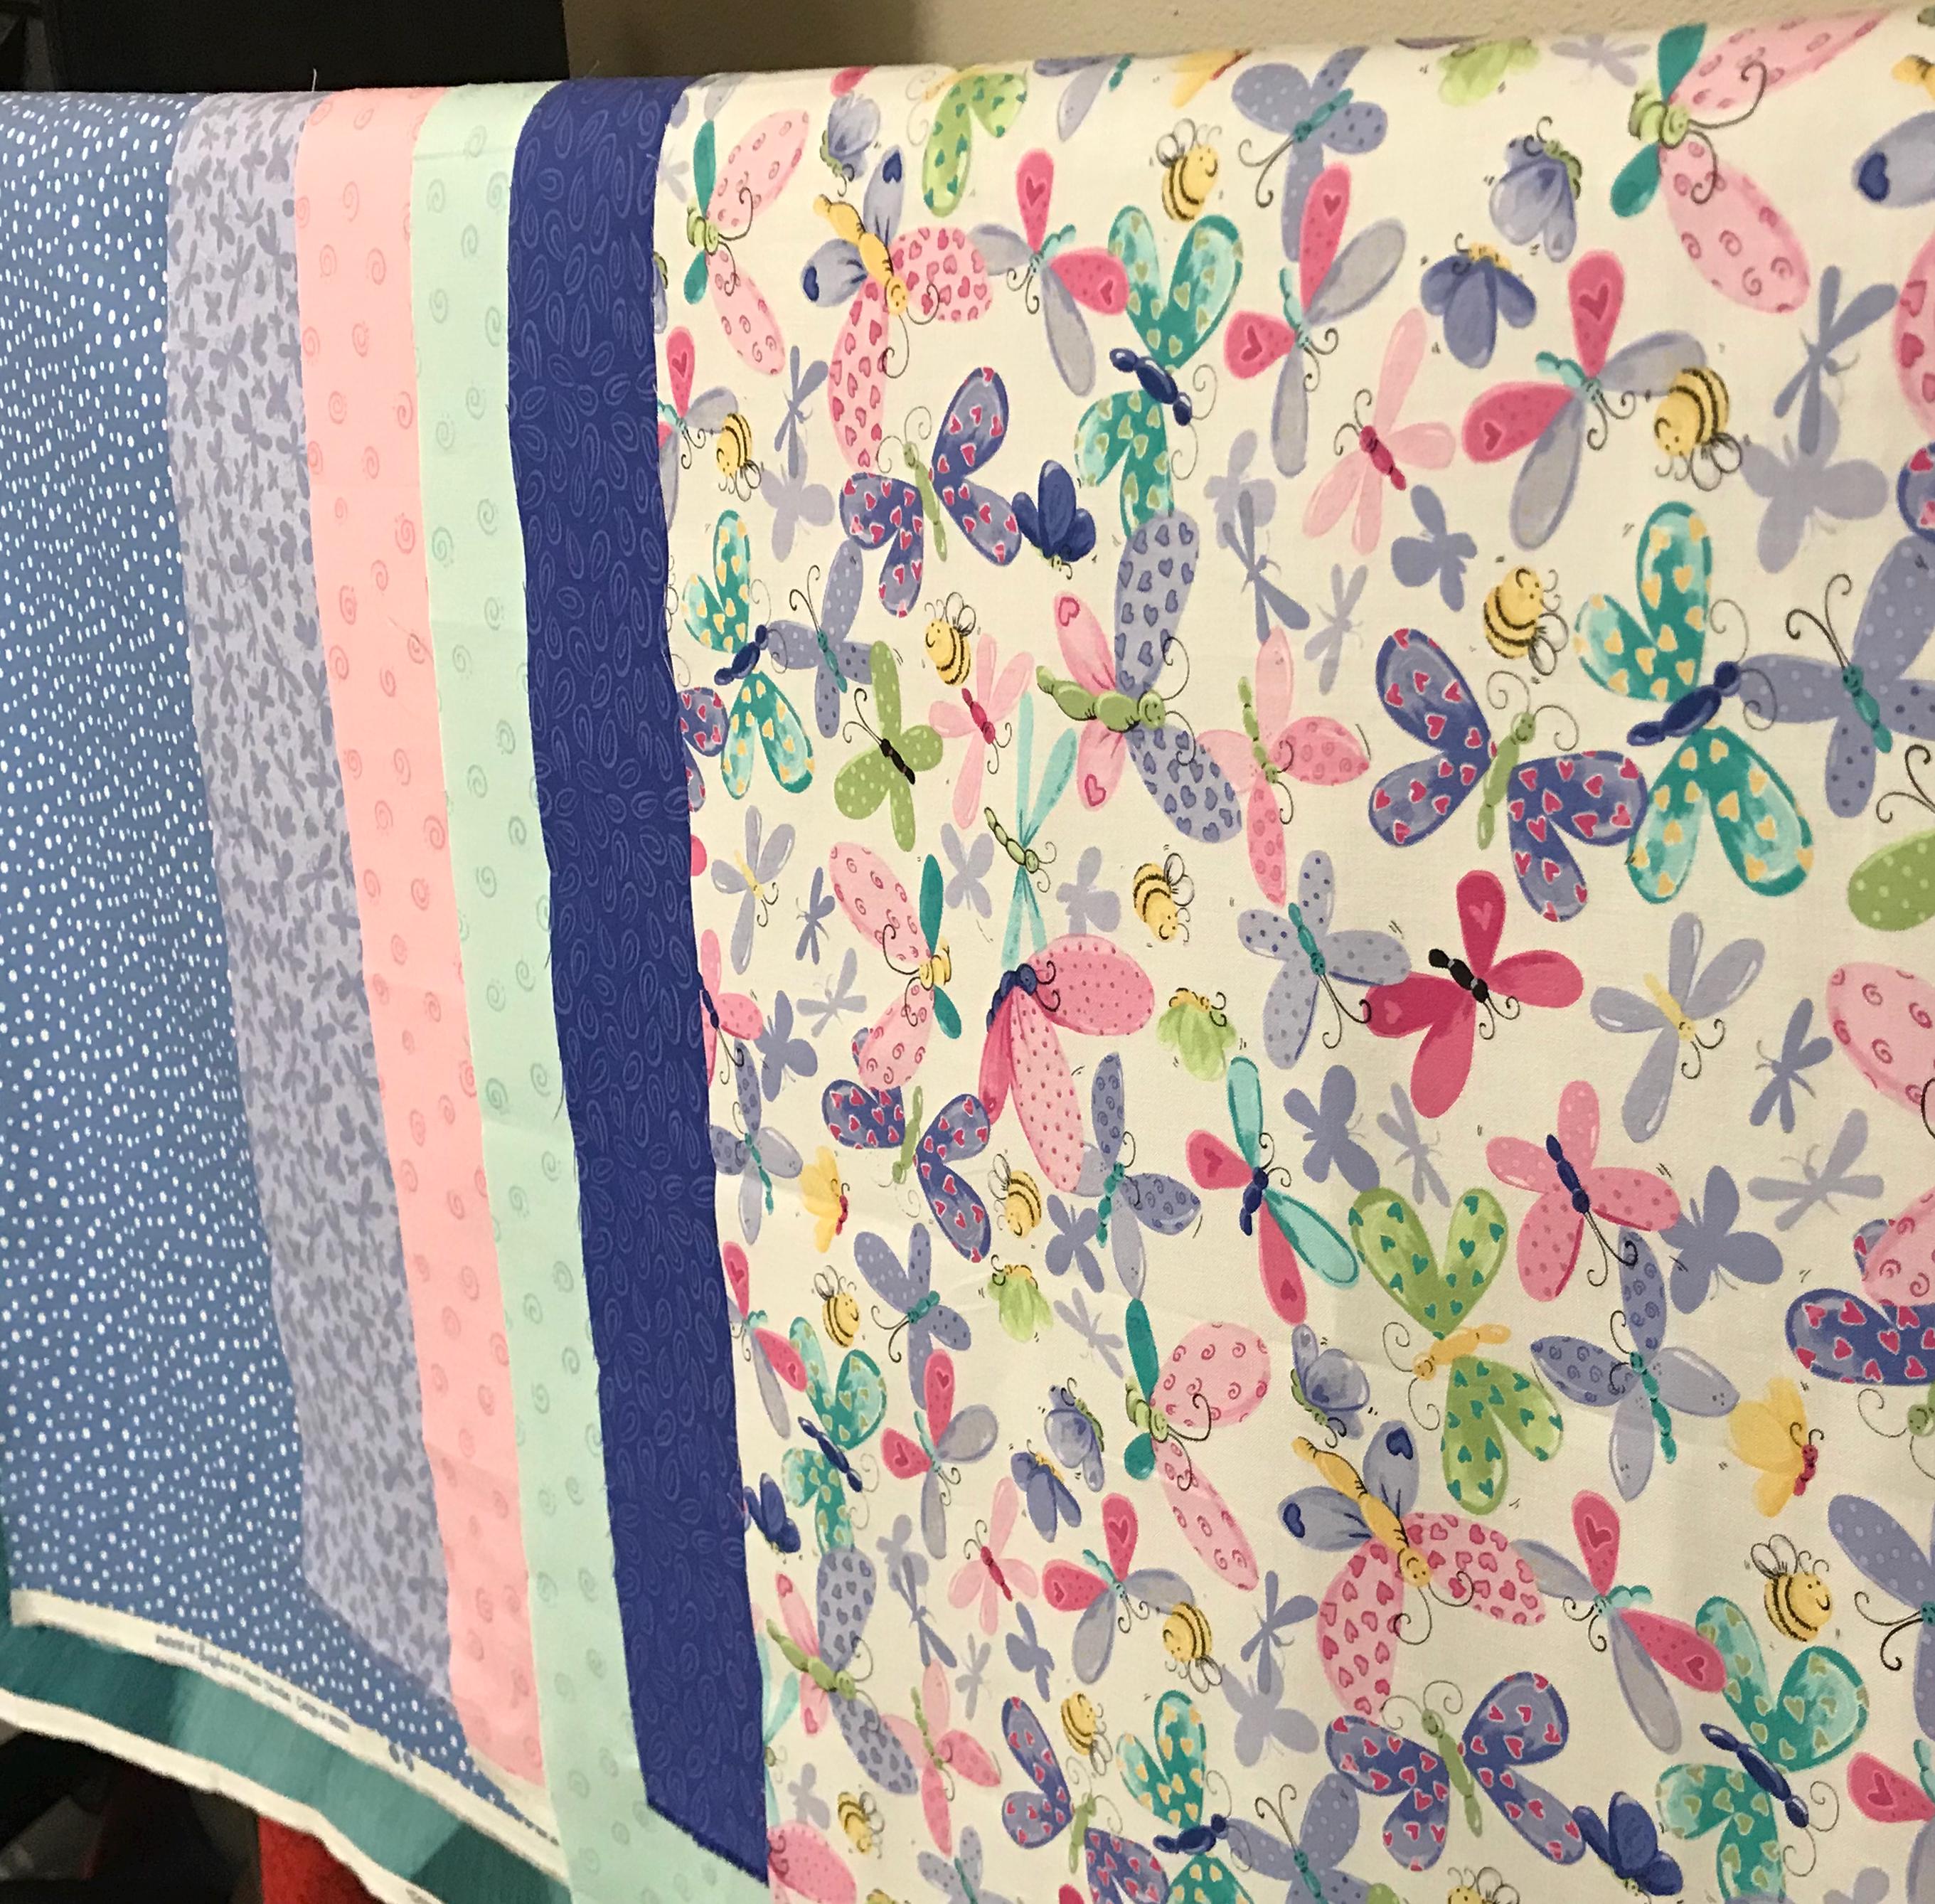
4. Keep it straight.
Hang up your fabric on a rack or clothes hangers to prevent it from getting creases. You did all this work, why would you want to do it again?
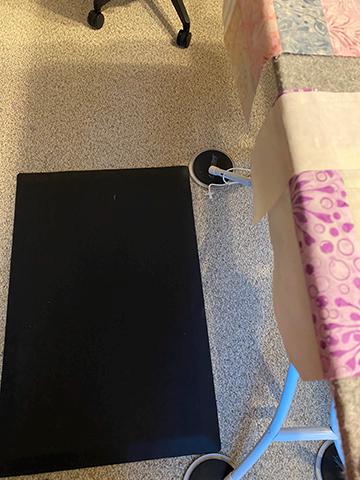
5. Stand comfortable.
If you stand while you iron, it does get a bit tiring on the knee joints and soles of the feet, especially if you, like I, have a "no shoes in the house" policy. I recently moved my standing desk anti-fatigue mat over in front of the ironing board, and let me tell you, it makes a world of difference!
It takes a while to get it all done, but it's worth it when all your fabric is freshly laundered, crisply pressed, hanging neatly in a row on your fabric rack, ready for the measuring and cutting process.
Washing and ironing is definitely not the most glamorous part of the quilting process, but, to me, it doesn't feel like housework when it's fabric.